Timeline
4-6 hours.
Suggested Materials
Little Bits
Lego
Erector Set
k'nex
Building Materials (wood, cardboard)
Craft Materials
School Supplies (scissors, tape, glue)
Lego
Erector Set
k'nex
Building Materials (wood, cardboard)
Craft Materials
School Supplies (scissors, tape, glue)
Design Challenge
Most robots perform tasks and respond to commands inputted by the user or follow commands that are programmed ahead of time. Most robots have both structural components and electronic components.
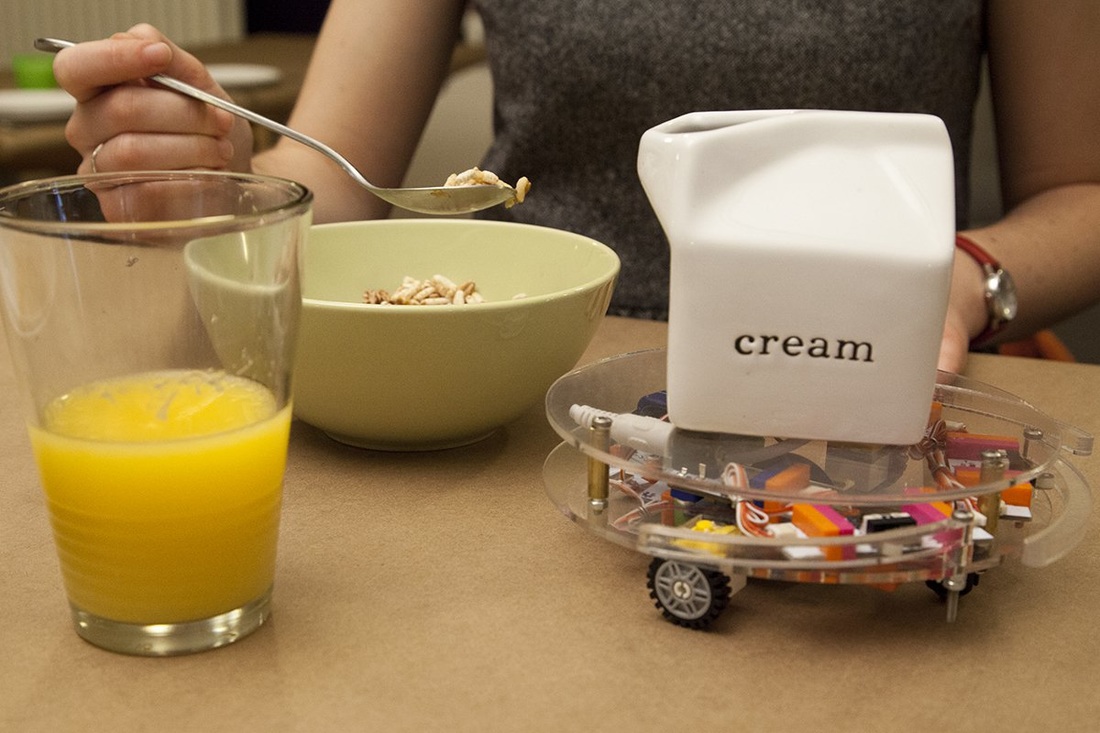
You will be designing a robot that performs a useful task. For example, your robot might bring you a pencil, light up your work area or warn you if there is an intruder.
You should be able to control your robot using some sort of input. For example, your robot might perform its task when you clap, when a button is pushed or when the lights are turned off.
Your robot should have both structural and electronic components.
If you base your robot on someone else's design add or change something to make it unique.
Design Process
1) RESEARCH
Your first step should be to learn as much as you can about your materials. Ask you teacher about what building materials are available and what the rules are for using them.
The best thing to use to begin making the electronic components of your robot are LittleBits.
Little Bits are small electronic components that snap together using magnets. Little bits let you create complex electronic gizmos without having to be an expert circuit-builder. There are four main types of little bits:
BLUE: Your power source
PINK: Inputs. these control which parts of your device get power at different times. (Eg, buttons, switches, sensors)
GREEN: Outputs. these DO something when they receive power. (Eg, buzzers, lights and motors)
ORANGE: Wires. These make it easier to connect different inputs and outputs.
You can visit the LittleBits website to look up lots of interesting project ideas. Here are some examples (here, here and here) of simple robots made with little bits
Watch the video to get an idea what little bits can do.
0 Comments
2) BRAINSTORMING
Think about what materials you will need for this project and where they will come from.
If you are using littleBits, think about which bits you need and make sure that they are available.
Think about how you are going to connect different materials for this project. LittleBits need to be returned after your project is completed so they cannot be glued. Rubber bands work really well for connecting littleBits to projects,
Use grid paper or a white board to make a sketch of your robot and label the different components that you will need to build.
3) PROTOTYPING
Prototyping means to repeat a process of building, testing and improving.
Build- try building the basic structure for your robot just to see if it will work. Try connecting your littleBits to see if they behave how you expect. Figure out how to put it all together and experiment with different building materials.
Test- Try it out. Make observations that will help you to improve your robot design.Does your robot do what you want it to do? Are there areas that need to be strengthened or tinkered with?
Improve- Using the data collected from your tests, think about ways that you can improve your prototype. You may be able to make adjustments to your existing robot or you may need to start from scratch.
Repeat this process as many times as possible until you have perfected your robot.
4) SHARE
Great scientists and inventors know that it is important to share your discoveries. Please film and take photos of your final robot and follow the instructions below for reporting on this assignment.
Share Your Learning
Designing is about the process not about the product. Even if your robot did not succeed, you should be sharing what you learned during the design process.
Use your digital portfolio to reflect about your progress at least once a week. Your posts can be in any form including:
A short paragraph (about six sentences)
A short video (about one minute)
A detailed diagram (use paper or a whiteboard and take a photo)
A series of photos that show progress
One easy way to know what to post is to complete a self interview.
At some point throughout your reflections you should address the questions below.
Before You Begin:
What do you want your robot to be able to do?
What ideas do you have about how to start building your robot?
After Researching:
Did you learn anything new from your research?
Did this research change how you plan to build your robot?
After Prototyping
Explain what features you added to the robot.
Explain how your inputs (pink bits) interact with the outputs (green bits).
Use a photo or video to show the features of each prototype.
